How does Sync work?

Eric Martin
Last Update 3 years ago
Sync is an essential feature that helps you manage and verify emails from your Customer Relationship Management (CRM) system on a daily basis. With Sync, you can take several actions automatically like unsubscribing contacts from all emails, removing them from a list, or deleting them from your CRM based on the daily email verification results.
To start using Sync, follow these simple steps:
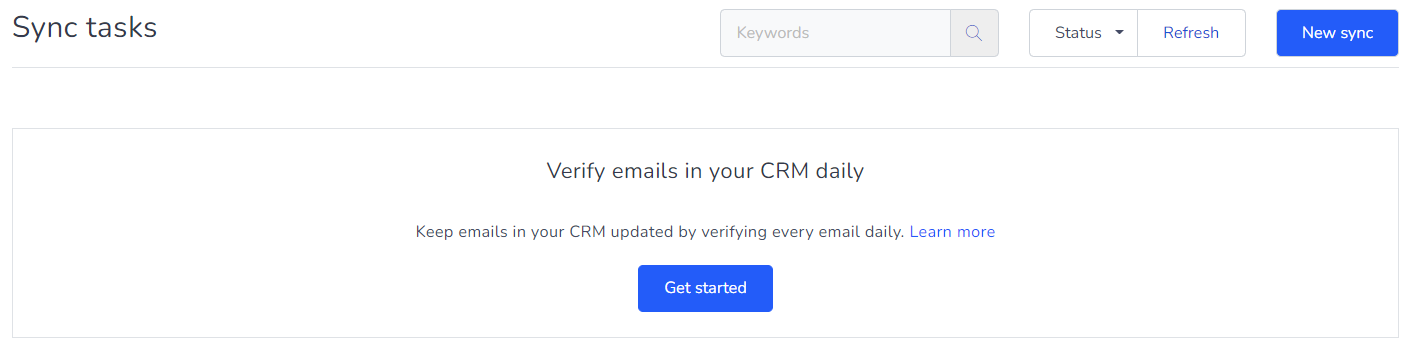
Step 1: Navigate to the Sync page by going to Dashboard > Sync: https://bounceban.com/app/sync/list
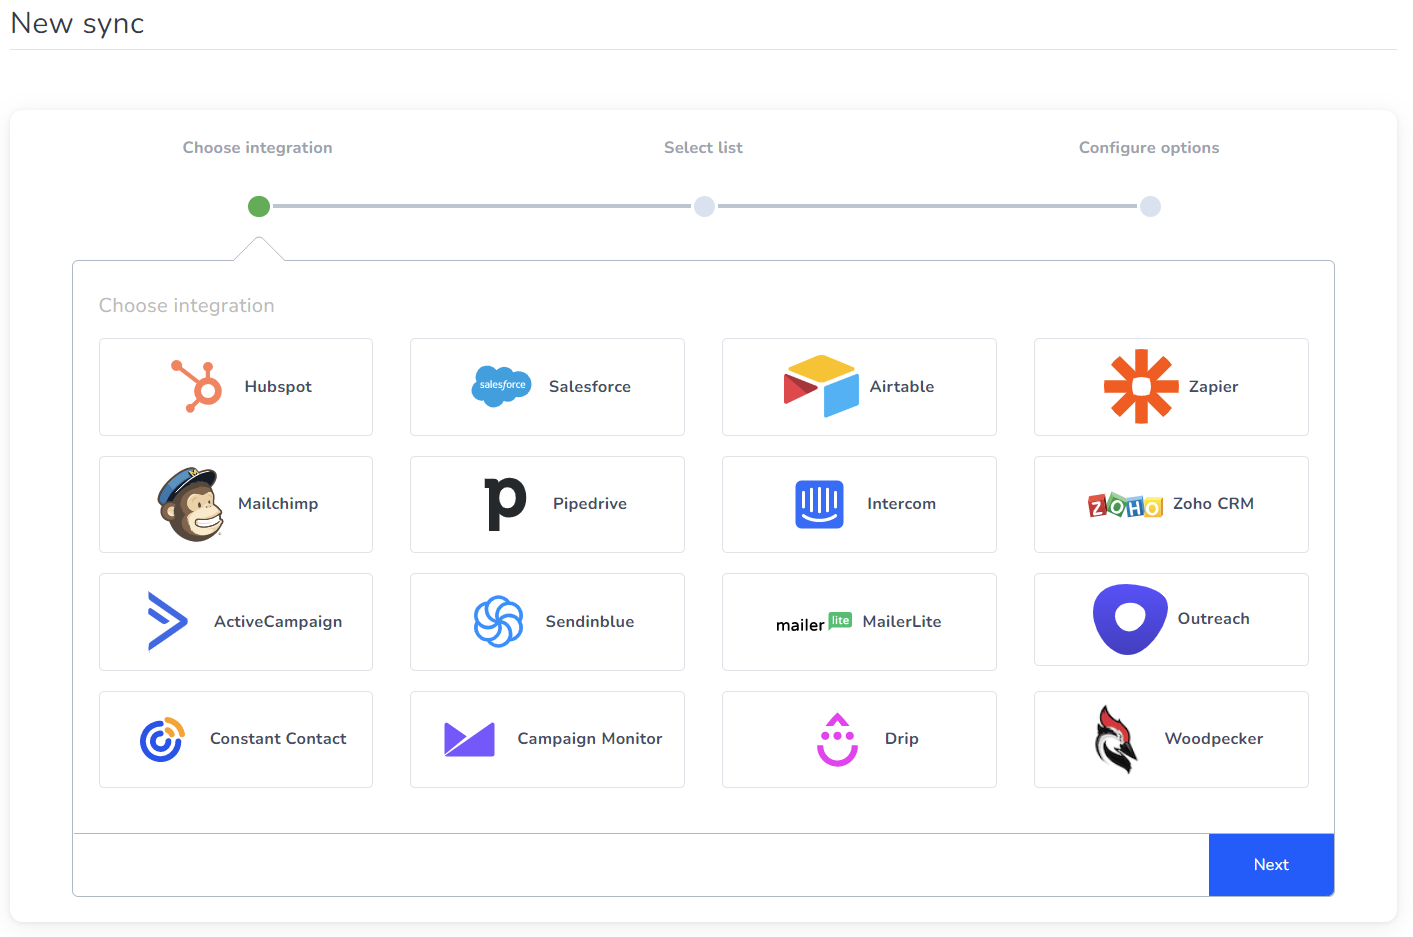
Step 2: Once on the Sync page, click the "New Sync" button located in the top right corner.
Step 3: Select your CRM from the list of supported systems, such as HubSpot. If your CRM is not natively supported, you can still use Sync by setting up a two-way data sync between HubSpot and your CRM. In this example, we will use HubSpot.
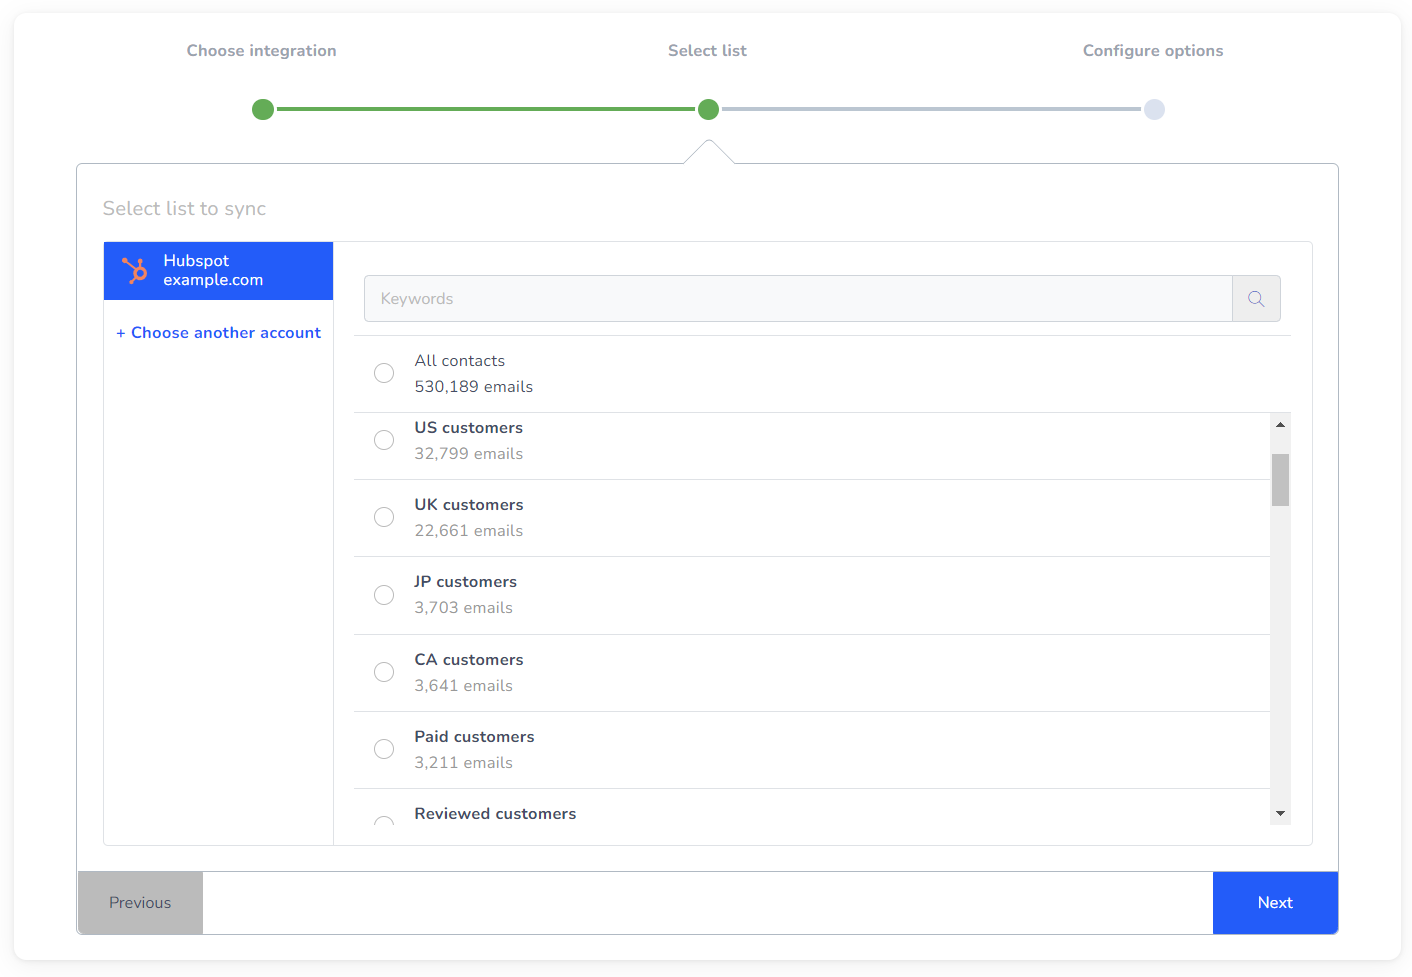
Step 4: Choose the type of contacts you would like to verify daily. You can either verify all contacts in your HubSpot account or select a specific list.
Step 5: Configure your Sync task settings, including the filters and action to take on verified contacts.
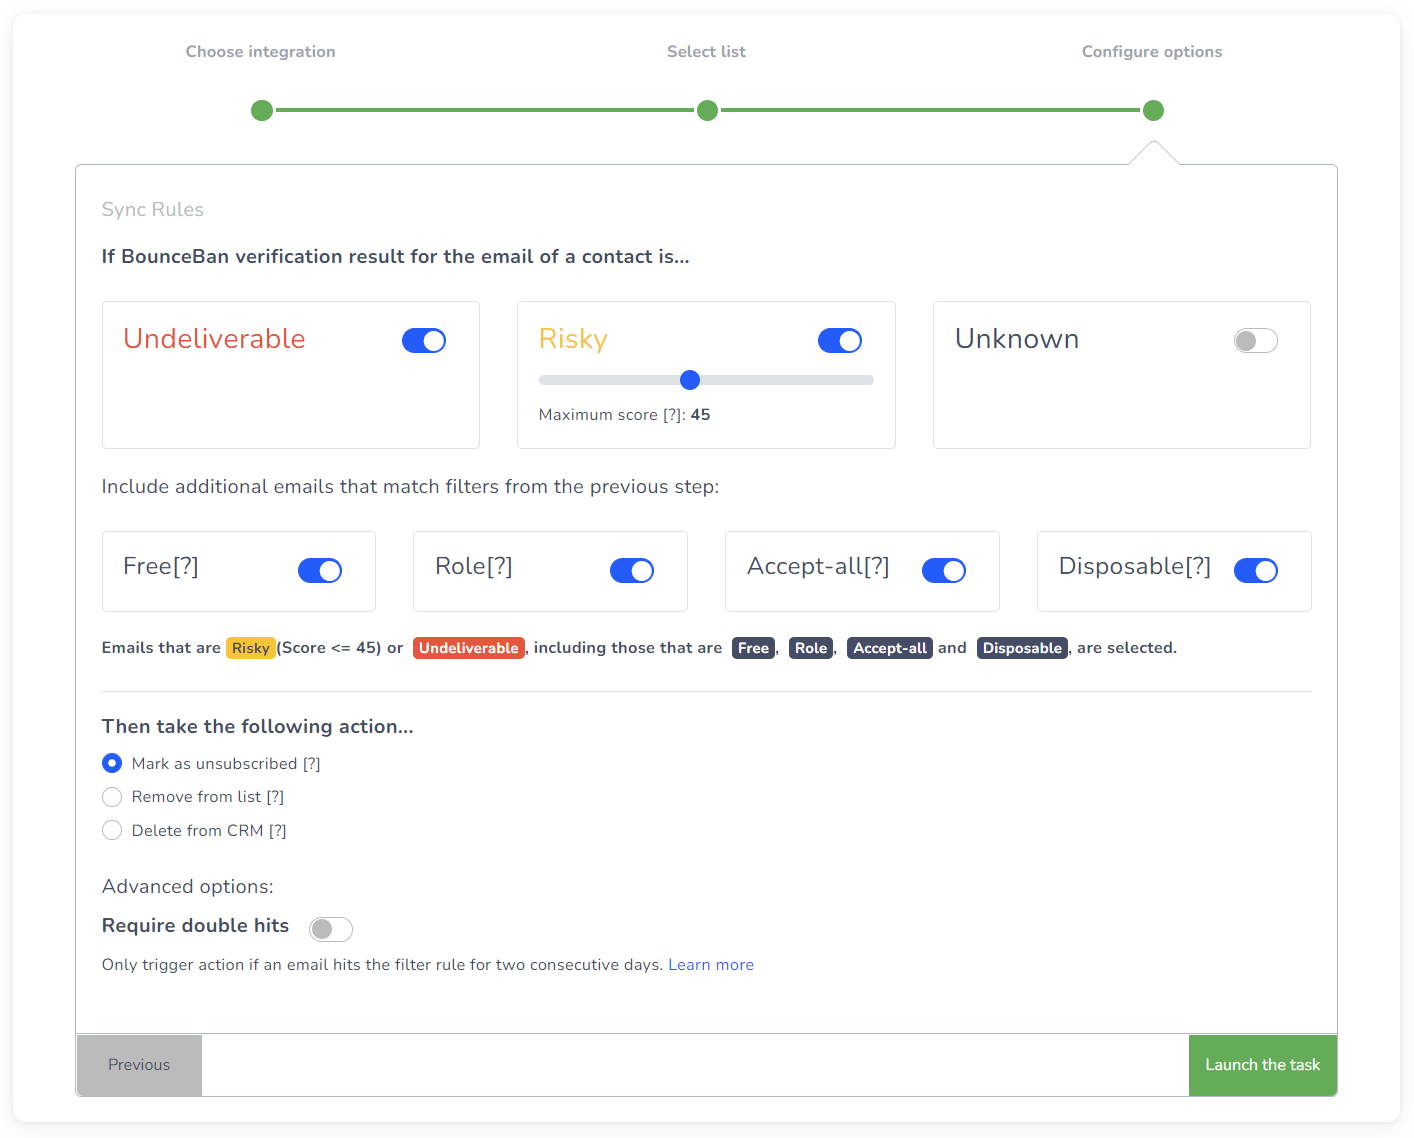
The "If BounceBan verification result for the email of a contact is..." section allows you to set a trigger based on the verification result for a contact's email. Then, the "Then take the following action..." section lets you choose an action to take once the trigger has been met. The available actions may vary depending on the CRM you have selected.
For HubSpot, there are three actions you can take:
- Mark as Unsubscribed: This action unsubscribes the email from all email types to which it is currently subscribed.
- Remove from List: If the specified rule is matched, this action removes the email (or the contact if there's an account associated with it) from the list.
- Delete from CRM: If the specified rule is matched, this action removes the email (or the contact if there's an account associated with it) from your CRM.
By using the "If BounceBan verification result for the email of a contact is..." and "Then take the following action..." sections, you can effectively manage your email contacts and streamline your email verification process.
At the bottom of the Sync task settings, there is an advanced option "Require double hits," which is disabled by default. When enabled, the email verification result must match on two consecutive days before any action is taken. This option provides an extra level of caution, ensuring that the verification results are consistent before any actions are taken. You can learn more about this option at https://bounceban.tawk.help/article/what-double-hits-in-sync-mean.
Step 5: After you have reviewed and configured your Sync task settings, click the "Launch the task" button to initiate the task.
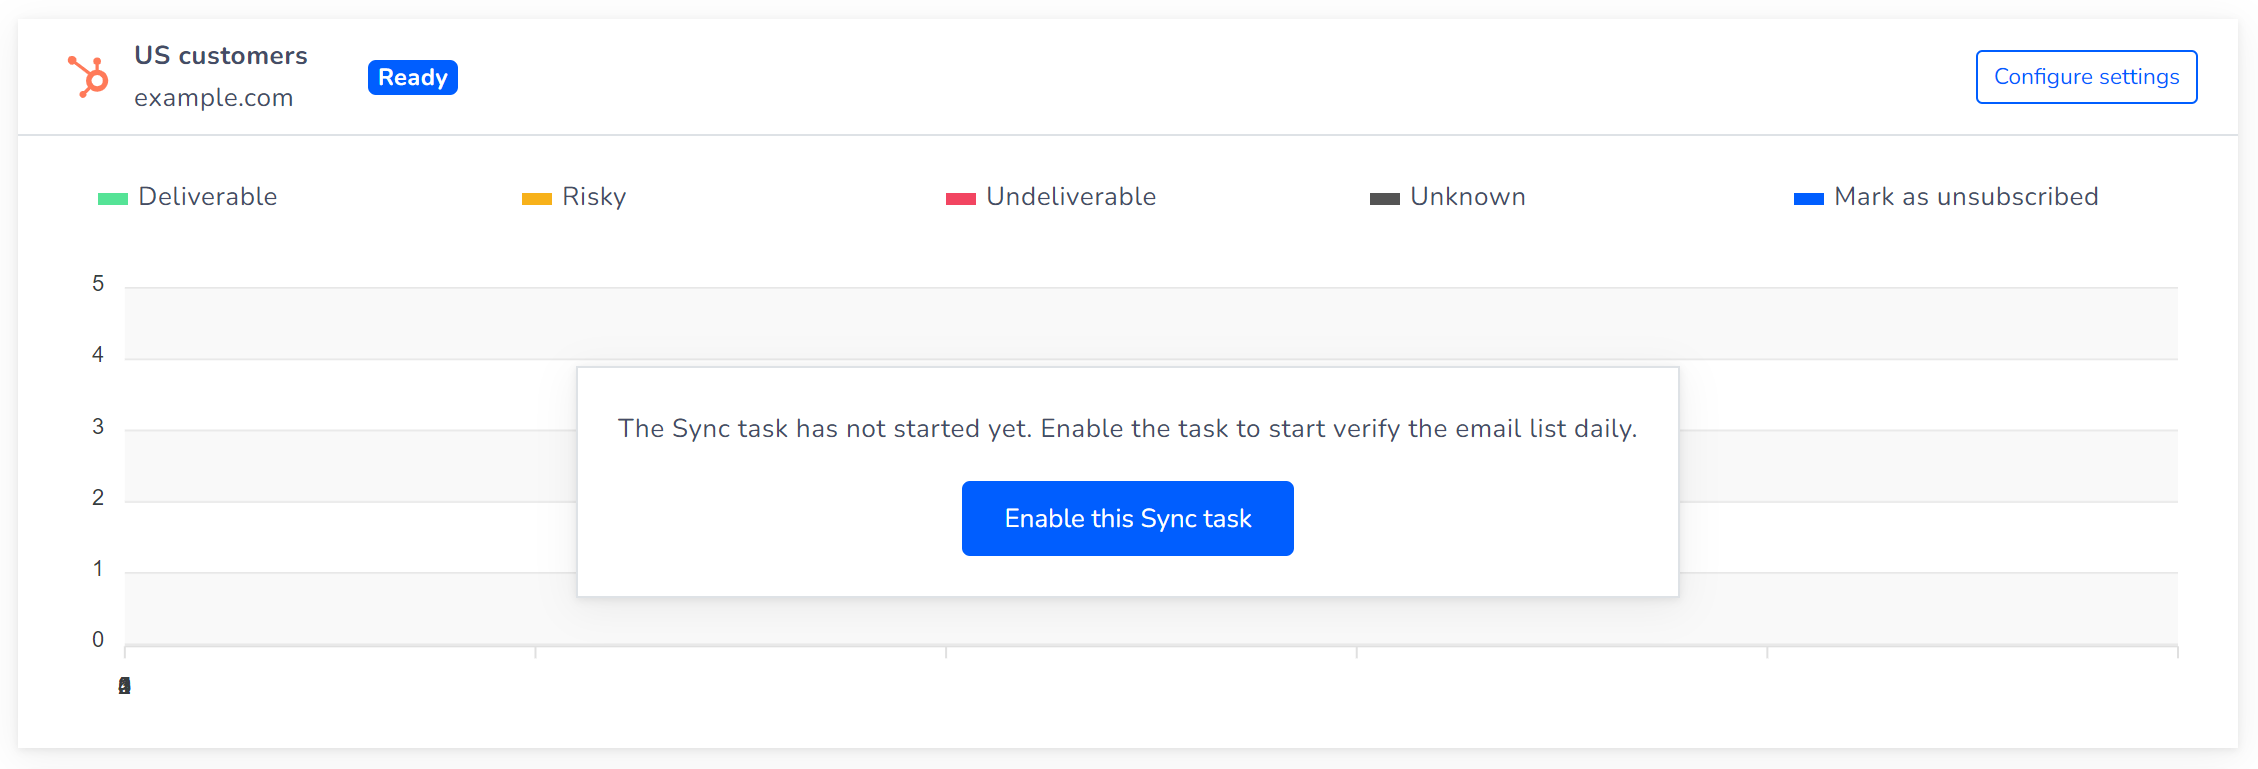
Step 6: To start the Sync task, click the "Enable this Sync task" button. You may be prompted to purchase a plan if you do not already have one.
With these steps, you can easily set up and launch a Sync task to manage your email contacts and streamline your email verification process.
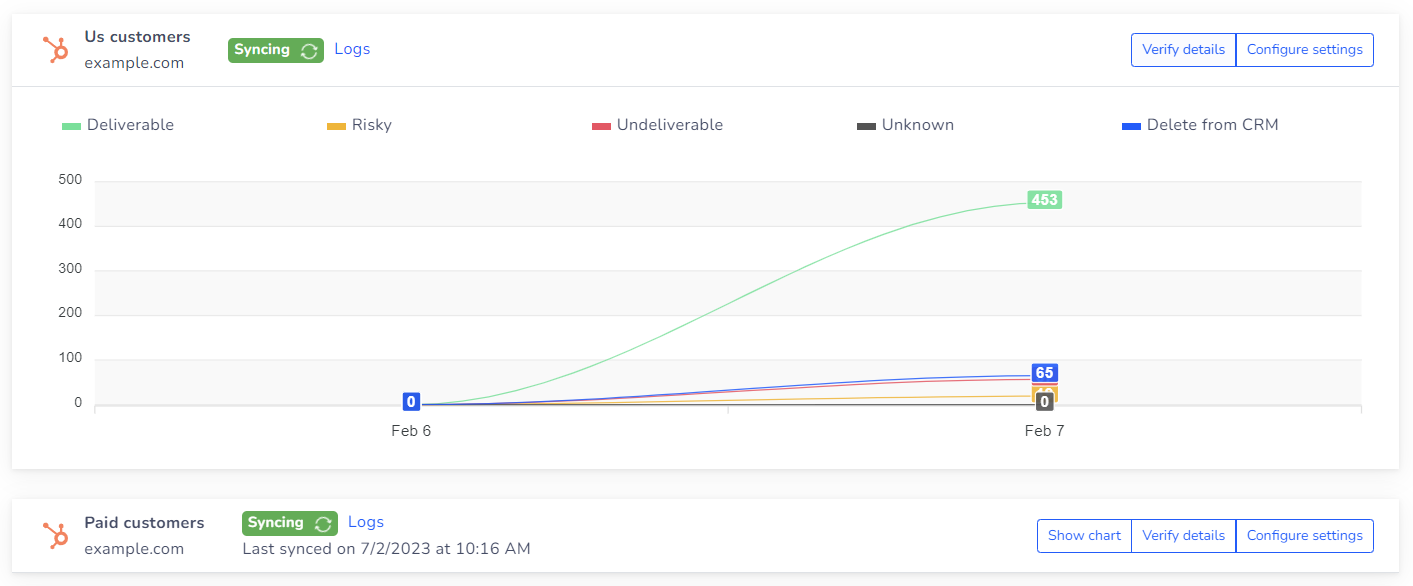
Task Summary Chart
Once you have enabled and started a Sync task, you can view a summary chart for the task. Simply hover your mouse over the chart to see detailed statistics.
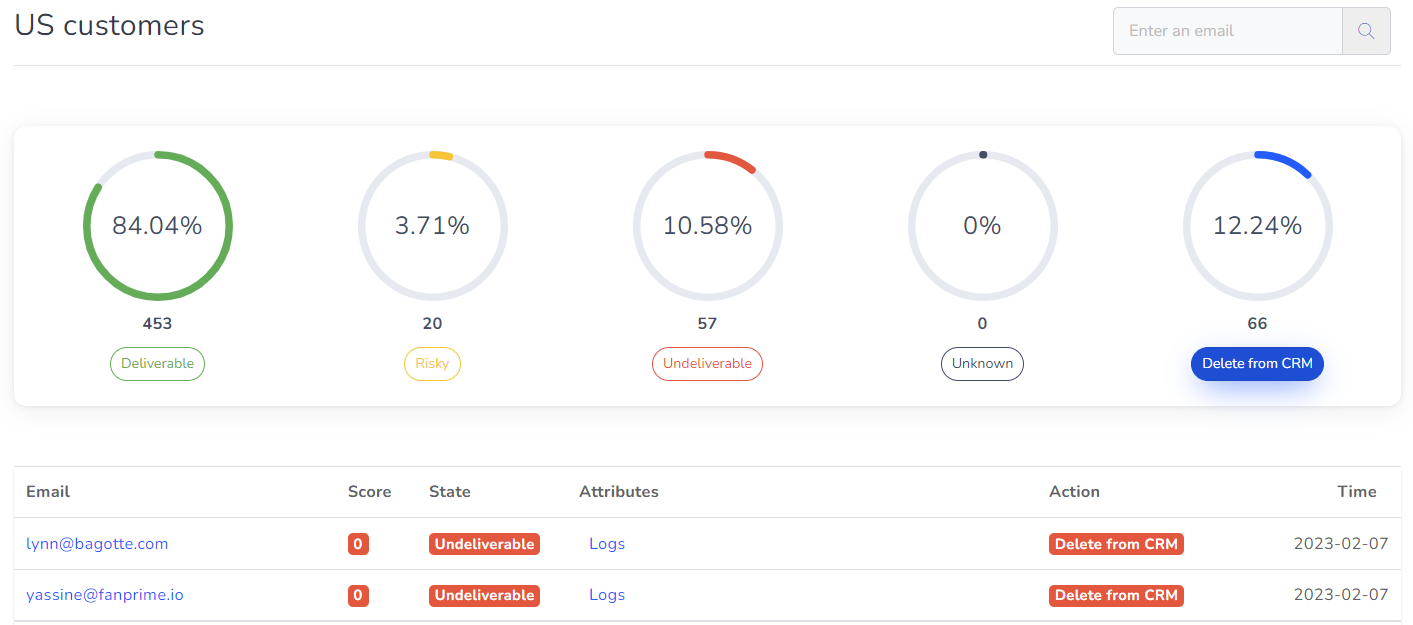
Task Details
To view the details of a Sync task, click on "View details." Here, you can see the status for each email processed by the task.
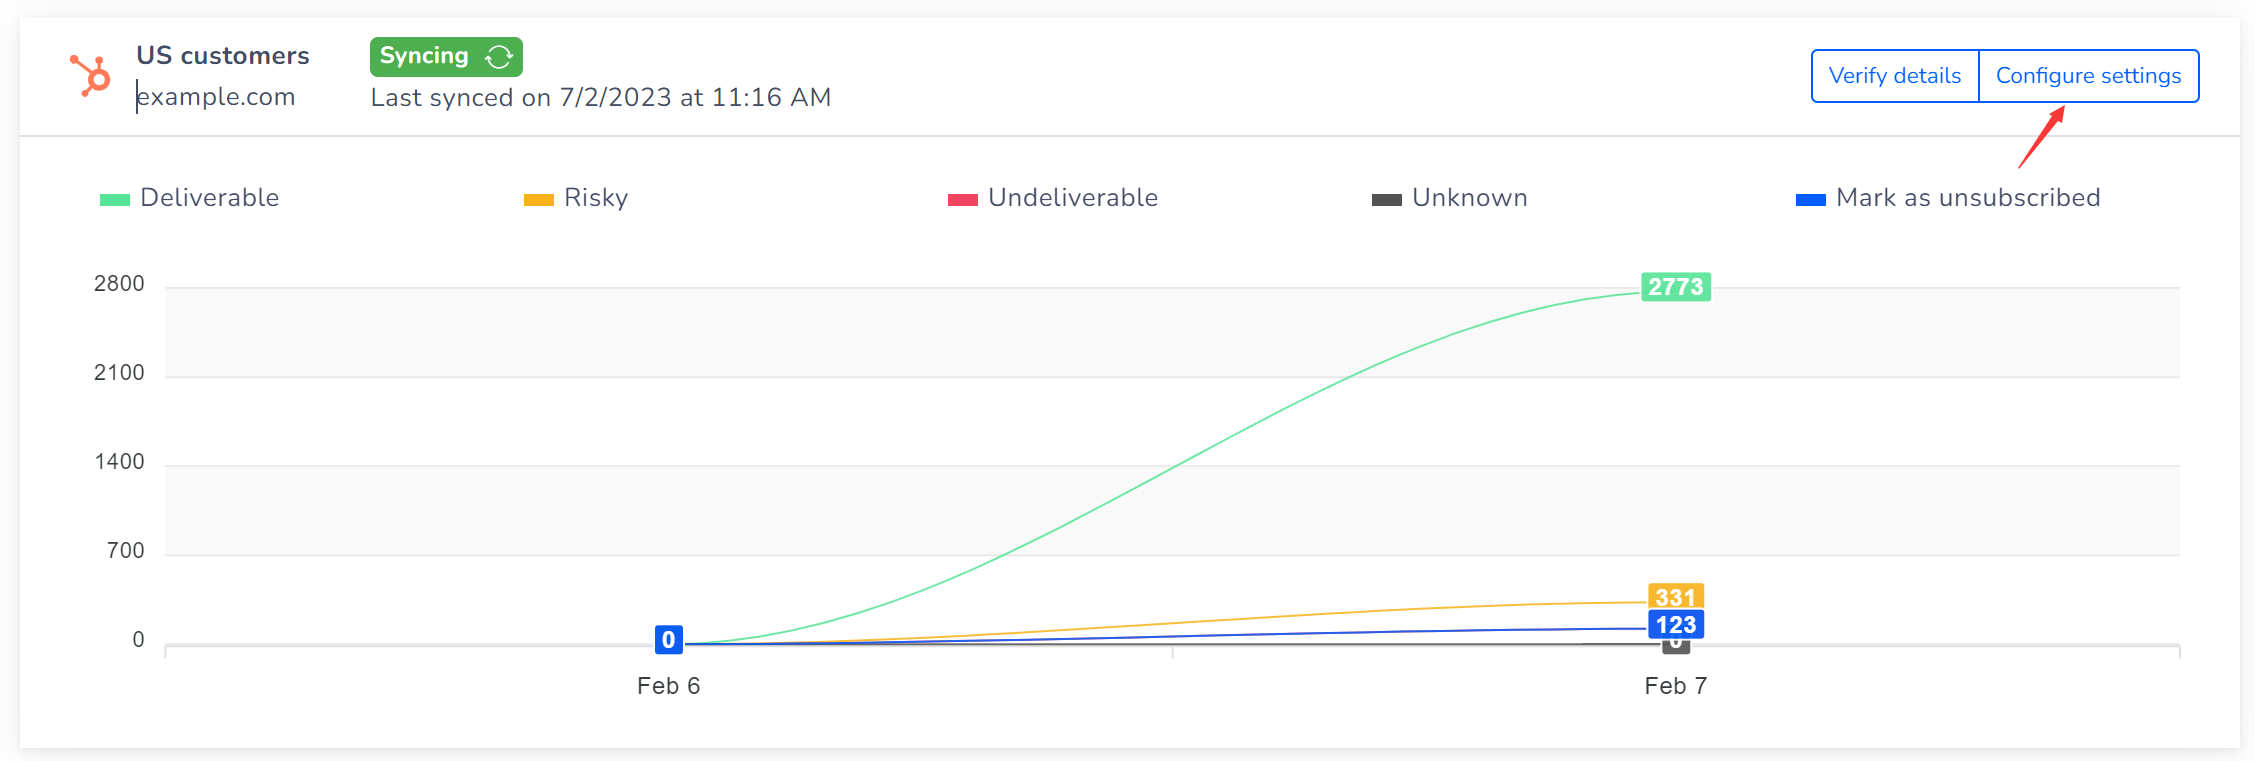
Change Task Settings
You can modify the settings for a Sync task at any time by clicking on "Configure settings." This allows you to change the task rules, the task name, pause or delete the task, and more.
With these features, you have complete control over your Sync tasks and can easily monitor and manage them.