How do I choose the right emails to export
Eric Martin
Last Update 4 months ago
After your bulk verification task is completed, the next step is to export the results for your email campaign.
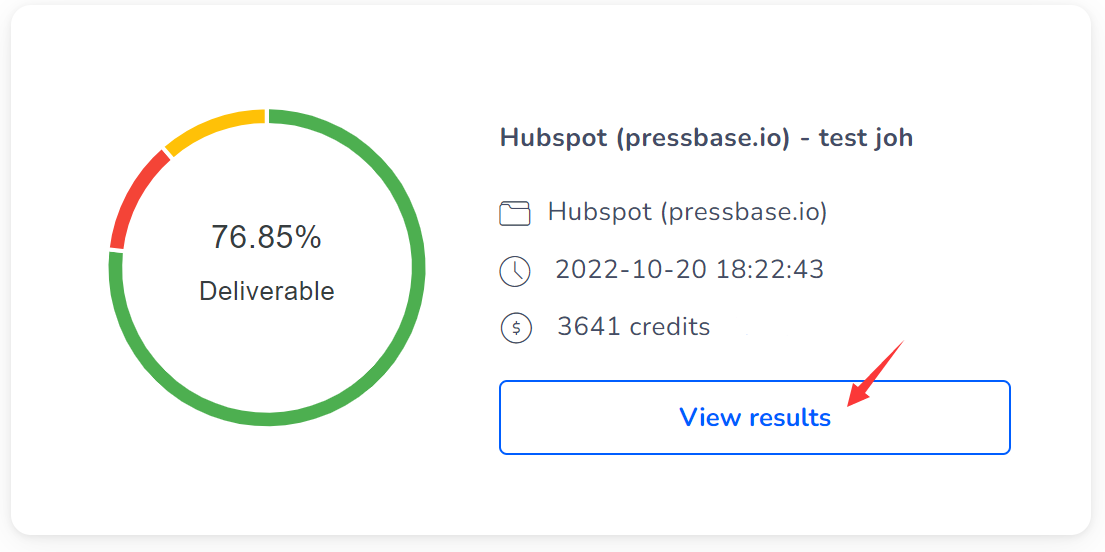
Step 1: Click View results to open task details:

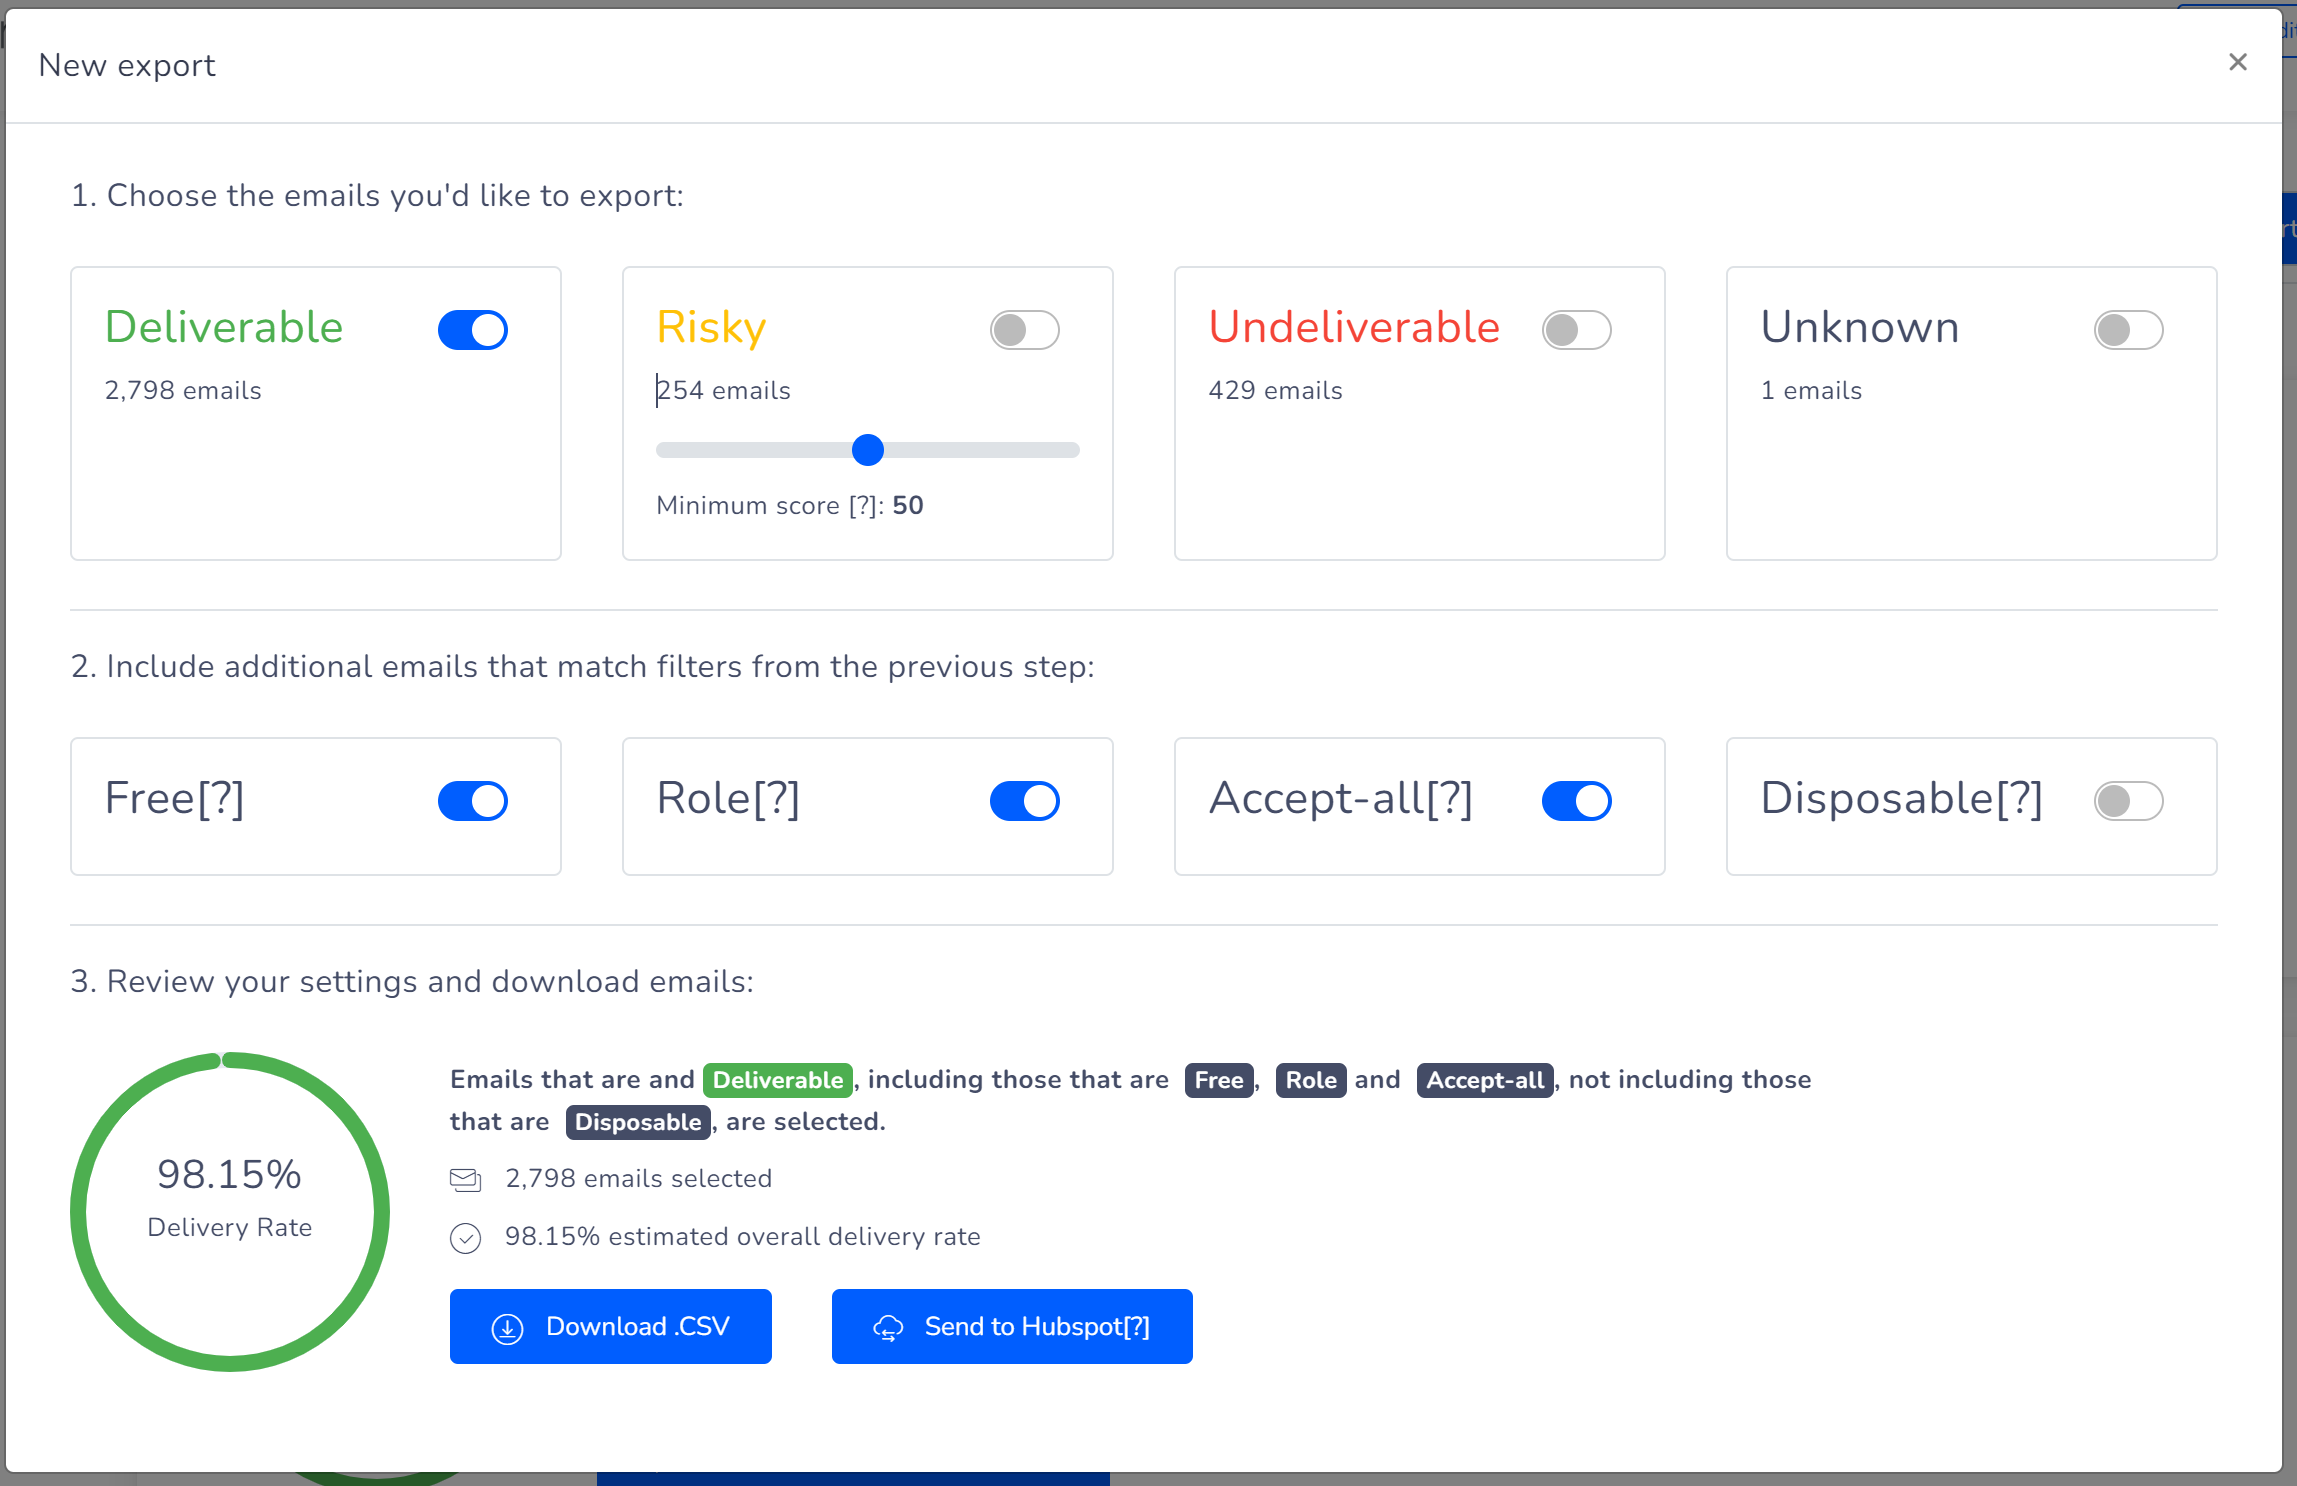
Step 2: Click New export:

Step 3: Choose the emails to export using the filters:

Generally, you can turn on Deliverable, Free, Role and Accept-all to get a list of emails that are safe to send. The estimated Delivery Rate at the bottom is updated in real-time based on your selection.
You can only turn on "Risky" to include more emails if the estimated delivery rate is above your email service provider's threshold. For example, if you use AWS's SES to send bulk emails, you can turn on "Risky" and adjust the score to select more emails, as long as the delivery rate stays above 95% as their recommended bounce threshold is 5%, in the account level. Keep in mind that the recommended bounce rate varies by email service providers and you may need to contact your provider for the acceptable bounce rate.
Step 4: Click Download .CSV or Send to HubSpot after you're done with the selection.

